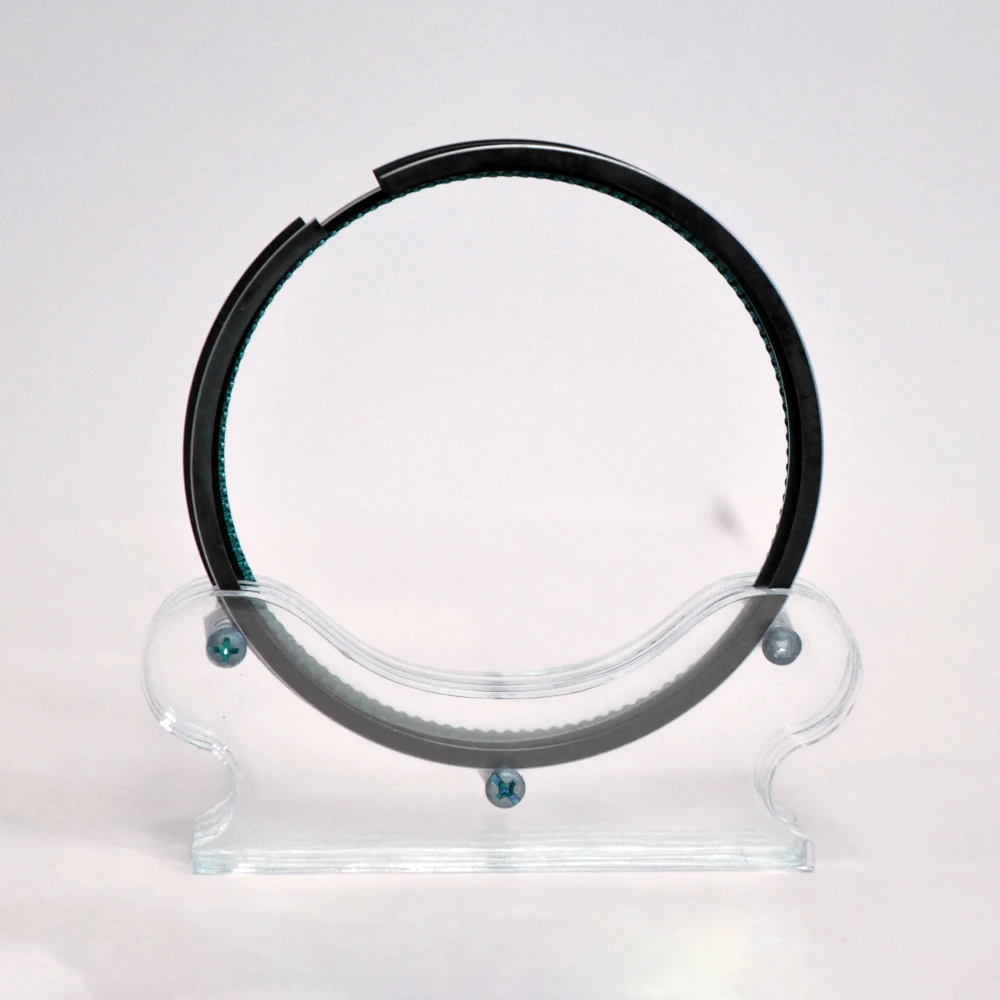
TOYOTA 1ZZ-FE Piston Ring Replacement Guide
The TOYOTA 1ZZ-FE engine is known for its reliability, fuel efficiency, and widespread use in various Toyota models such as the Corolla, Celica, and Matrix. However, like any internal combustion engine, it requires routine maintenance to ensure long-term performance. One of the most critical components to monitor is the piston ring. Over time, piston rings can wear out, leading to oil consumption, loss of compression, and reduced engine efficiency.

Understanding the Role of Piston Rings
Piston rings are small yet essential components installed around the pistons inside the engine’s cylinders. Their functions include:
Sealing the combustion chamber – Preventing combustion gases from leaking into the crankcase.
Regulating oil consumption – Controlling the oil film on the cylinder walls to prevent excessive oil burning.
Heat transfer – Transferring heat from the piston to the cylinder walls for cooling.
In the TOYOTA 1ZZ-FE engine, properly functioning piston rings are vital for maintaining compression, fuel economy, and emissions standards.
Signs You Need Piston Ring Replacement
If you notice any of the following issues, it may be time to replace the piston rings on your 1ZZ-FE engine:
Excessive oil consumption – Frequent need to top up engine oil.
Blue exhaust smoke – Indicates oil burning inside the combustion chamber.
Loss of power – Poor acceleration and reduced engine performance.
Low compression readings – Results from a compression test showing leakage past the piston rings.
Fouled spark plugs – Oil deposits on plugs due to oil entering the combustion chamber.
Tools and Parts Needed
Before beginning the piston ring replacement, ensure you have the following tools and parts prepared:
New TOYOTA 1ZZ-FE piston ring set (OEM or high-quality aftermarket)
Socket and wrench set
Torque wrench
Piston ring compressor tool
Micrometer or feeler gauge (for measuring ring gaps)
Engine gasket set (head gasket, valve cover gasket, etc.)
Engine oil and coolant (for reassembly and refill)
Cleaning supplies (rags, degreaser, scraper)
Step-by-Step Piston Ring Replacement Guide
Step 1: Preparation
Park the vehicle on a flat surface and disconnect the battery.
Drain engine oil and coolant.
Remove necessary components such as intake, exhaust manifold, valve cover, and timing chain assembly.
Step 2: Cylinder Head Removal
Remove the cylinder head bolts in sequence.
Carefully lift off the head and inspect the gasket for wear or damage.
Place the cylinder head on a clean workbench.
Step 3: Piston and Connecting Rod Removal
Remove the oil pan to access the crankshaft.
Unbolt the connecting rod caps and push the pistons upward out of the cylinder bores.
Keep track of piston orientation for reinstallation.
Step 4: Remove Old Piston Rings
Use a piston ring expander tool to gently remove old rings.
Inspect pistons for cracks, scoring, or excessive carbon buildup. Clean thoroughly.
Step 5: Install New Piston Rings
Measure the ring end gap with a feeler gauge by inserting the ring into the cylinder bore. Adjust if necessary according to factory specifications.
Install rings in the correct order: oil control ring (bottom), second compression ring, and top compression ring.
Ensure ring gaps are properly staggered around the piston to prevent blow-by.
Step 6: Reinstall Pistons and Connecting Rods
Compress piston rings with a piston ring compressor tool.
Insert pistons back into the cylinder bores carefully.
Torque connecting rod bolts to Toyota’s specifications.
Step 7: Cylinder Head Reinstallation
Clean the engine block and head surfaces.
Install a new head gasket.
Torque the cylinder head bolts in sequence using a torque wrench.
Step 8: Final Assembly
Reattach timing chain, intake, exhaust manifold, and valve cover.
Refill with fresh oil and coolant.
Reconnect the battery.
Step 9: Testing
Start the engine and check for leaks.
Allow the engine to idle, then perform a road test.
Monitor oil consumption and compression readings to confirm proper installation.
Tips for Successful Replacement
Follow torque specifications carefully to avoid engine damage.
Replace gaskets and seals to prevent leaks after reassembly.
Consider honing the cylinder walls if heavily worn, ensuring a proper surface for new rings.
Break in the engine properly after ring replacement to allow the rings to seat correctly.
Conclusion
Replacing piston rings in the TOYOTA 1ZZ-FE engine is a complex but rewarding process that restores compression, reduces oil consumption, and extends the life of your vehicle. With the right tools, quality parts, and careful attention to detail, you can successfully perform this repair and enjoy smooth, reliable engine performance for years to come.
Whether you are a DIY mechanic or a professional, understanding the replacement process empowers you to maintain the legendary durability of Toyota engines.
https://www.jy-pr.com/toyota-1zz-fe-piston-ring-replacement-guide.html
www.jy-pr.com
Wuxi Jinyang Piston Ring Factory / Yizheng Jinyang Locomotive Parts Co., Ltd.
Post Comment